
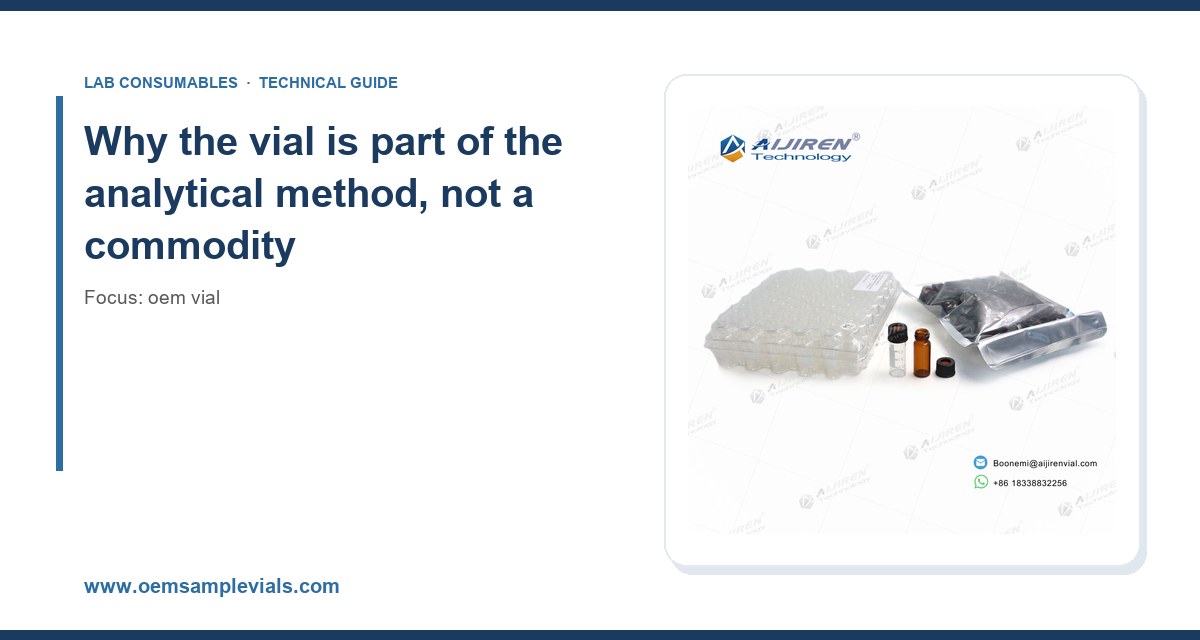
I have watched a lab spend three weeks chasing a ghost peak that turned out to be a plasticizer leaching out of the wrong cap liner. I have also seen a purchasing department save eleven cents per vial on a 10,000-piece order and then eat a four-figure rework bill when the septa coring plugged a needle on the autosampler mid-sequence. Vial selection looks trivial from the outside and is anything but. This guide is what I would hand a new buyer or a bench chemist on day one: the dimensions that matter, the materials that fail, the numbers to put in a spec sheet, and the questions to ask before you sign a blanket PO.
A 2 mL autosampler vial is a system: glass body, neck finish, septa, and cap, all toleranced against a carousel, a needle guide, and a robotic gripper you do not control. Change any one component and you change the physical path the sample takes to the needle. On a modern LC autosampler, the needle may penetrate a septum 96 times in a single plate run, and the bottom of the needle can sit within 0.5 mm of the glass floor. Get the glass thickness or the neck height wrong by a millimeter and you get bent needles, incomplete injection, or a vial that sits proud in the tray and jams the transfer arm.
Chromatographers tend to treat consumables as a fixed cost. The better framing is that the vial is the first stage of the sample preparation train. Every extractable, every particle, every adsorption site is upstream of the detector. If you would not accept an unknown peak from a solvent lot, you should not accept one from a cap liner either. The manufacturers who publish the useful data are the ones worth buying from, and the reference material from Agilent and Thermo Fisher on sample handling is a reasonable place to start when you are writing a specification.
Start with the instrument, then work backwards
The single most common purchasing error is choosing a vial before checking the autosampler manual. Do that in reverse. Pull the instrument’s consumable specification and write down four numbers: the maximum body diameter, the maximum total height including cap, the required neck finish, and the tray capacity. Then match the vial to those numbers.
Standard 2 mL format and its tolerances
The workhorse is the 12 x 32 mm vial with an 11 mm crimp or screw neck. The nominal dimensions are well known, but the tolerances are where suppliers differ. A reputable molded vial holds body diameter to +/- 0.2 mm, height to +/- 0.3 mm, and neck OD to +/- 0.15 mm. Cheap imports sometimes run double that. On a robotic tray with tight pockets, a 0.4 mm oversize body is enough to cause a mis-pick.
Neck finish is governed in practice by the GPI 11 mm thread profile for screw vials and by the standard 11 mm crimp dimension for crimp vials. GPI (Glass Packaging Institute) thread specifications define the thread pitch and the sealing land. If a supplier cannot tell you which GPI finish their screw thread follows, that is your answer about their process control. Note that “11 mm screw” is not a universal fit: a short-thread vial will not seal on a long-thread cap, and vice versa. Mixing them is a reliable route to evaporation losses over a 12-hour run.
When you need a wider or taller format
For prep-scale work or for methods that need more headspace, the 15 x 45 mm and 16 x 100 mm formats come into play. These are common in GC headspace and in environmental work. Headspace vials typically run 20 mL with a 20 mm crimp neck and a butyl or PTFE-faced septum; the crimp must be set with a proper crimper at the right jaw pressure or you will either leak or crack the neck. If you are running EPA SW-846 methods such as 8260 or 8270, the method text specifies the vial and septum requirements, and the audit trail starts with the consumable lot.
Glass: the choice that quietly affects your chromatography
There are three glass types in routine use, and the differences are not cosmetic.
- Type I borosilicate (USP Type I, ASTM E438 Class A). Low alkali, low extractables, high hydrolytic resistance. This is what you want for trace analysis, pH-sensitive analytes, and anything going into an LC-MS. It costs more and it is worth it.
- Type I deactivated glass. The interior is silanized or otherwise treated to reduce surface silanol activity. This matters for basic compounds, proteins, and anything prone to adsorption. I have seen recovery of a low-nanogram basic analyte improve by 15 to 30% simply by moving from untreated to deactivated glass.
- Type II or III soda-lime. Adequate for high-concentration work, pH-neutral aqueous samples, and general prep. Not appropriate for trace metals or for methods with a low reporting limit.
Ask for the hydrolytic resistance data and the extractables profile. A supplier that runs its own extractables study on a representative lot and shares the chromatograms is telling you they understand the problem. Amber glass is a separate decision: use it for photosensitive analytes (vitamins, some pesticides, certain pharmaceuticals) and accept that amber glass has slightly higher metal content in the colorant. If you are doing trace metals, clear Type I is the safer call.
Closures and septa: where most failures actually happen
I will say it plainly: the septum is the weak point. The glass is usually fine. The cap is usually fine. The septum is where coring, adsorption, and extractables live. This is why I spend more time on closure selection than on anything else, and why the technical data at Vial Closures is worth reading before you shortlist a supplier.
Silicone, PTFE, butyl, and the laminated options
The common septum materials and where they belong:
- Silicone (usually with a PTFE face). Excellent resealing, high puncture tolerance (often 50 to 100 punctures before leakage), good for autosamplers. The silicone alone is highly permeable and extracts; the PTFE film is what protects the sample. Always specify PTFE-faced silicone for LC.
- Pure PTFE. Chemically inert, low extractables, but poor resealing. Good for single-injection or short sequences. Not for multi-injection methods.
- Butyl rubber. Low gas permeability, standard for headspace and GC. Not for LC. It extracts and it adsorbs.
- Laminated PTFE/silicone/PTFE. The best general-purpose choice for LC-MS and trace work. Higher cost, lower coring, low extractables.
Puncture count, coring, and needle gauge
Coring is the failure mode where the needle punches a plug of septum into the vial. The plug then sits in the sample, blocks the needle, or shows up as an interference peak. Coring risk goes up with needle gauge (a 22-gauge needle cores more than a 26-gauge), with needle bevel type, and with septum durometer. A good PTFE-faced silicone septum at Shore A 45 to 55 will survive a full 96-well plate with acceptable coring. A cheap septum at Shore A 70 will not. If your method runs more than one injection per vial, specify a septum rated for at least 3x your injection count and verify it with a coring test on your own instrument.
Crimp versus screw versus snap
Crimp gives the best seal and the lowest evaporation, but it needs a crimper, a decapper, and operator training. Screw caps are faster and re-openable, and modern screw caps with a bonded septum seal well enough for most LC work. Snap caps are the fastest and the least reliable for long runs. For a 24-hour sequence, I default to crimp or to a high-quality screw cap with a silicone/PTFE septum, and I check evaporation gravimetrically on a sample of 10 vials before I commit a method to it.
A decision checklist with real numbers
Here is the table I actually use when qualifying a vial for a new method. Fill it in for two or three candidate suppliers and the choice usually makes itself.
- Body diameter: 12.0 mm +/- 0.2 mm (2 mL format). Reject anything outside 11.8 to 12.2 mm.
- Height with cap: 32.0 mm +/- 0.3 mm. Confirm against autosampler spec; some instruments allow 32.5 mm, some do not.
- Neck finish: GPI 11 mm screw or 11 mm crimp. Get the drawing.
- Glass type: USP Type I borosilicate for trace work; deactivated for basic analytes.
- Septum: PTFE-faced silicone, Shore A 45 to 55, rated for at least 3x your injection count.
- Extractables: supplier provides a lot-specific extractables chromatogram at your detection wavelength or MS scan range.
- Evaporation: less than 2% mass loss over 24 hours at 25 degrees C for a sealed 2 mL vial.
- Seal integrity: no leakage at 1.5 bar differential for crimp vials; verify with a pressure decay test on a sample.
- Crimp torque/pressure: set the crimper to the manufacturer’s spec (commonly 2.0 to 2.5 in-lb equivalent jaw force); verify with a go/no-go gauge.
- Certificate of analysis: lot number, glass type, septum lot, dimensional data, and date of manufacture.
If a supplier cannot populate at least eight of those ten lines, they are not selling you a qualified consumable. They are selling you glass.
Working with an OEM supplier: what “OEM” actually means
The term OEM gets used loosely. In this context it means the supplier manufactures to your specification and, if you want, under your label. That is a different relationship from buying catalog stock. The advantages are real: you control the glass type, the septum durometer, the packaging, and the documentation. The risks are also real: you own the specification, so you own the failure if the spec is wrong.
When I qualify an OEM vial supplier, I ask for four things. First, the actual manufacturing drawings with tolerances, not a marketing datasheet. Second, a first-article inspection report on the first production lot. Third, a change-control commitment: any change to glass source, septum compound, or mold requires written notification and re-qualification. Fourth, a retained sample program so that a failure six months out can be traced to a lot. A supplier like Aijiren that publishes its manufacturing and QC approach is easier to audit than one that does not. For the full catalog and OEM options, the OEM vial range is a reasonable starting point, but read the drawings before you read the price list.
Questions to put in writing
- Which GPI finish does the screw thread follow, and can you supply the thread drawing?
- What is the glass hydrolytic resistance class, and what is the lot-to-lot variation?
- What is the septum compound, durometer, and puncture rating, and who compounds it?
- What is the change-control process, and how much notice do I get?
- What is the packaging format (bags per case, trays per bag), and is it cleanroom-packed?
- What is the lead time for a re-order, and what is the minimum order quantity?
Operational precautions on the bench
Good vials still fail in careless hands. A few habits that have saved me rework:
Never touch the inside of a septum or the mouth of a vial with bare fingers. Skin oils are an extractable source and a particle source. Wear nitrile gloves and change them when they get tacky. Store vials and caps in their original packaging, sealed, in a clean, dry place; opened bags pick up dust and the septa pick up plasticizer from the air. Do not autoclave septa unless the manufacturer says to; heat cycles change durometer and reseal performance. For LC-MS work, pre-rinse new vials with your mobile phase or with LC-MS-grade solvent and let them dry in a covered tray. For trace metals, acid-rinse and verify with a blank.
On the instrument side, check the needle guide and the vial tray for wear every few thousand injections. A worn guide lets the needle wander and turns a good septum into a coring problem. Set the crimper with a gauge, not by feel, and re-check it monthly. If you run a sequence overnight, put a sealed blank at the end of the tray and check it in the morning for evaporation and for ghost peaks. That single blank has caught more problems for me than any other QC step.
Troubleshooting checklist
When a vial-related problem shows up, work through this list in order. It is roughly the order in which I have found the actual cause over the years.
- Ghost peaks or rising baseline: suspect septum extractables or plasticizer from packaging. Run a sealed solvent blank; if the peak appears, change the septum lot and re-test.
- Needle coring / blocked needle: check septum durometer, needle gauge, and needle guide wear. Switch to a PTFE-faced silicone septum and re-test on 20 injections.
- Low recovery of a basic or polar analyte: suspect glass adsorption. Move to deactivated Type I glass and compare recovery.
- Evaporation / concentration drift over a long run: check cap torque or crimp pressure, check septum fit, and weigh 10 vials before and after 24 hours.
- Vial jams or mis-picks on the autosampler: measure body diameter and height on 20 vials with calipers. If more than 2 are out of tolerance, reject the lot.
- Leakage in headspace or GC: check crimp jaw pressure and septum type (butyl for GC). Re-crimp and pressure-test.
- Particulates in the injection: check for coring, check the vial interior for manufacturing debris, and consider a filtered cap or an inline filter.
If you need the analytical side of this confirmed, a contract lab running the comparison under your method is often faster than an internal investigation. The method-development and testing services at Analytical Testing can run the extractables and recovery comparison for you, and the technical notes at Restek are a good reference for interpreting the results.
Cost, lead time, and the total cost of a bad vial
Price per vial is the least useful number in this decision. The useful number is cost per valid injection. A 2 mL Type I vial with a laminated septum might run a few cents more than the budget option. If the budget option causes one re-run of a 96-injection plate per month, the labor, instrument time, and delay cost dwarf the savings. I have seen a lab calculate that a coring problem was costing them roughly USD 40 per affected injection once rework and instrument downtime were included. At that rate, the premium vial pays for itself many times over.
Lead time matters too. A single-source OEM vial with a six-week lead time is a supply risk. Qualify a second source early, even if you do not use it, and keep a buffer stock sized to your weekly consumption times your lead time plus a safety margin. For a lab running 500 vials a week with a four-week lead time, that is a minimum buffer of about 2,500 vials.
Recommendation
For most LC and LC-MS workflows, I would specify a 12 x 32 mm, USP Type I borosilicate vial, GPI 11 mm screw or crimp neck, with a PTFE-faced silicone septum at Shore A 45 to 55, lot-traceable, with a supplier-provided extractables chromatogram and a change-control commitment. For basic or polar analytes, move to deactivated glass. For GC headspace, use a 20 mL, 20 mm crimp vial with a butyl septum and a properly gauged crimper. For trace metals, use clear Type I and acid-rinse. Buy from a supplier who will show you the drawings and the data, and qualify a second source before you need it.
The vial is the first thing your sample touches and the last thing you think about. Treat it like part of the method, put the numbers in the spec, and the ghost peaks, bent needles, and rework bills mostly go away.
References & further reading
Related resources from our lab consumables network:
- Oem Vial at oemsamplevials.com
- Vial Closures at vialclosures.com
- Analytical Testing at labanalyticaltesting.com
- Aijiren at aijirentechinc.com
External references and standards: