
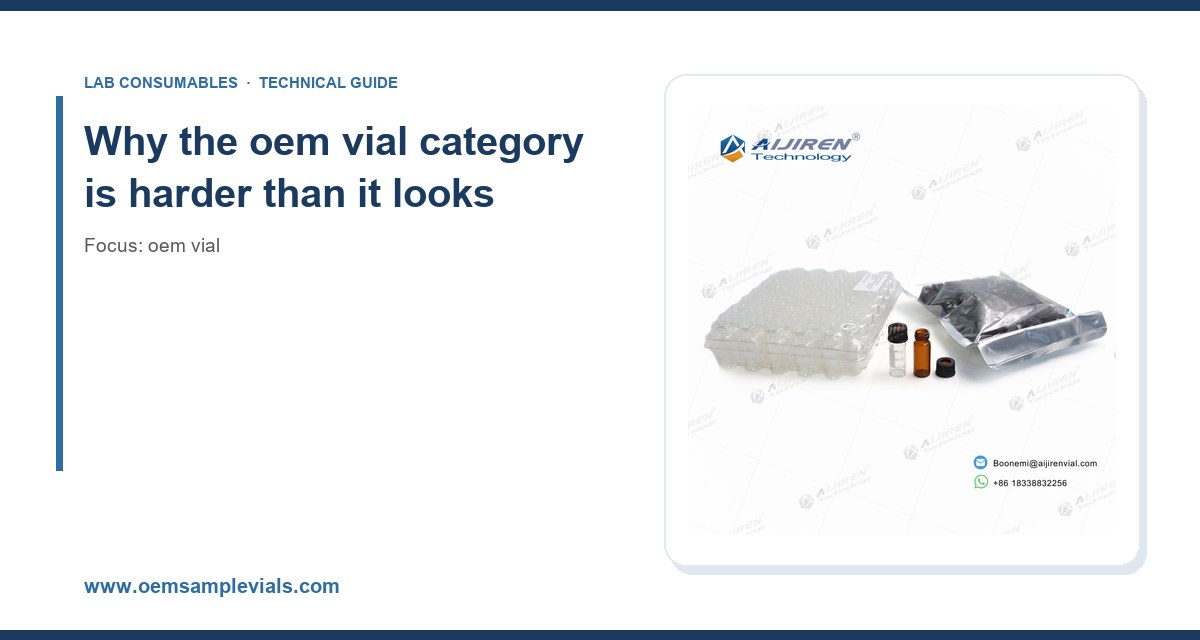
I spent the first eight years of my career on the buying side, qualifying vial suppliers for a contract lab that ran roughly 400 GC and HPLC methods across environmental, pharma, and food testing. I have rejected more OEM vial manufacturers than I have approved. The ones I kept were not the cheapest and rarely the biggest. They were the ones whose process documentation matched what actually came off the pallet, batch after batch, for years. This article is what I learned about telling those suppliers apart before you sign a three-year agreement.
The short version: a reliable oem vial manufacturer is defined by three things you can audit rather than three things you can be told. Glass chemistry and dimensional control, a QC program with published acceptance limits, and real OEM capability (private label, custom dimensions, secondary packaging, traceability) that survives a plant visit. Everything below is how I test each one.
A 2 mL autosampler vial looks like a commodity. It is not. It is a precision glass part that has to hold 1.5 mL of solvent at 4 °C for 48 hours, survive 40 psi of headspace pressure in a GC inlet, mate with a septum that must reseal after a needle punctures it 10 to 50 times, and do all of this while the autosampler gripper picks it up by the neck at 0.1 mm tolerance. Any one of those requirements failing shows up as a chromatographic artifact, not as a broken vial, which is what makes bad vials so expensive.
I have seen a 0.4 mm neck-height variance across a lot cause intermittent autosampler pick failures on a 150-position tray. I have seen a supplier switch glass tubing sources and introduce enough sodium and boron surface contamination to produce sodium adducts in LC-MS that nobody could explain for three weeks. Those are not hypothetical. They are the failure modes that separate a real manufacturer from a trading company that buys and relabels.
If you are sourcing the full assembly, including caps and septa, the closure is often the more variable half. I cover that separately in the guide to vial closures because septa chemistry and crimp geometry deserve their own treatment.
Materials: what actually matters in the glass and the closure
Glass chemistry and USP classification
Most 2 mL vials are made from USP Type I borosilicate glass, typically a low-expansion borosilicate with a coefficient of thermal expansion around 3.3 × 10⁻⁶ /°C. Type I means the glass has a hydrolytic resistance that meets USP <660> and the equivalent EP and JP monographs. A real manufacturer can give you the hydrolytic resistance test result in mL of 0.01 M HCl consumed per gram of glass, and it should be low (typically under 0.1 mL/g for Type I powder testing). Ask for it. If the answer is “all our glass is Type I,” ask for the certificate.
Where suppliers cut corners: they use Type II or Type III soda-lime glass for cost and call it “clear glass.” Type III glass leaches alkali into aqueous samples, shifts pH, and produces ghost peaks in GC and elevated sodium in LC-MS. If your method involves a pH-sensitive analyte or any kind of ion detection, this matters more than the price difference of a few cents per vial.
The other glass issue is surface dealkalization. Good manufacturers run an ammonium sulfate or SO₂ treatment at the forming stage to remove surface sodium. Cheap vials skip it. You can test for this with a simple leach test: fill 10 vials with HPLC-grade water, cap, heat to 121 °C for 30 minutes, and measure conductivity and sodium by ICP-MS. I have seen dealkalized vials come in under 1 µS/cm and untreated vials come in at 4 to 6 µS/cm on the same test.
Dimensional tolerances
This is the part buyers under-specify and it is the part that causes the most line downtime. The numbers I put in every purchase specification:
- Body outer diameter: 11.6 mm ± 0.2 mm for a standard 2 mL vial (12 × 32 mm nominal).
- Height: 32.0 mm ± 0.3 mm.
- Neck outer diameter: 11.0 mm ± 0.2 mm for a crimp-neck vial; 9.0 mm ± 0.2 mm for a screw-thread vial.
- Neck height (crimp): 6.0 mm ± 0.3 mm. This is the one that bites you. Anything over ± 0.5 mm and crimping starts producing inconsistent seal compression.
- Bottom concentricity: within 0.1 mm. Off-center bottoms cause autosampler needle bending and, in some tray designs, vial tilt.
- Wall thickness: 1.0 mm nominal, minimum 0.8 mm. Thin walls fail under vacuum and produce inconsistent heat transfer in autosampler trays.
Screw-thread vials also need to meet the GPI 9-425 thread standard (Glass Packaging Institute, 9 mm thread, 425 finish). If a supplier cannot confirm GPI 9-425 compliance in writing, their caps may not seal correctly on your existing capping equipment. I have seen a “9 mm” vial from an unqualified source that was 8.7 mm at the thread root and leaked at 4 °C overnight.
Septa: the underrated material decision
Septa are where chemistry meets mechanics. The common materials and where I use them:
- Silicone (pure): best resealing, poor chemical resistance to nonpolar solvents, high extractables. Use for aqueous samples only.
- Silicone/PTFE bonded: PTFE face toward the sample, silicone backing for reseal. My default for most HPLC work. Puncture count before leakage: 30 to 50 punctures for a 1 mm thick septum at 10 psi.
- PTFE/silicone/PTFE sandwich: best for headspace and for samples that must not contact silicone. Higher cost, slightly worse reseal.
- Butyl rubber: low gas permeability, good for headspace and for samples stored long-term. Not for LC-MS due to extractables.
- Pre-slit silicone/PTFE: for autosamplers with fixed needles. Cuts coring but adds a leak path.
Septa are also where the “OEM” label gets abused. A supplier that buys septa from a third party and puts their name on the bag is not an OEM manufacturer of septa. That is fine if they tell you, and a problem if they do not. Ask who extrudes the silicone and who laminates the PTFE. A real OEM capability means they can specify durometer (typically 45 to 55 Shore A for silicone septa), thickness (1.0 mm or 3.0 mm for headspace), and the bonding process.
QC: the tests a real manufacturer runs and the ones they skip
Every supplier claims “100% inspection.” Almost none do it. Here is what I actually verify in a supplier audit, in order of how often I find problems.
Incoming glass inspection
Good manufacturers inspect incoming tubing and formed vials for dimensional conformance on a sampling plan (typically AQL 1.0 or tighter on critical dimensions). They keep the data. I ask to see three months of dimensional records for the same part number and check the standard deviation, not just the mean. A supplier whose neck-height SD is 0.15 mm is controlling the process. One whose SD is 0.4 mm is inspecting it out at the end.
Chemical cleanliness testing
This is the test most trading companies cannot do. A real manufacturer runs leach testing on each production lot, or at minimum each glass melt, measuring:
- Conductivity of deionized water extract after autoclaving (target < 2 µS/cm).
- pH shift of the extract (target within 0.5 units of neutral).
- UV absorbance at 220, 254, and 280 nm (target < 0.05 AU).
- Residual sodium by ICP-MS or flame photometry.
For LC-MS work, I also ask for a lot-specific extractables screen by LC-MS in both positive and negative mode. Any ion above 1 × 10⁶ counts in full scan is a flag. This is exactly the kind of testing a dedicated analytical testing lab runs on a routine basis, and a manufacturer who has this capability in-house is a different animal from one who outsources it once a year for a catalog.
Closure and seal integrity
For crimp vials, the seal integrity test is straightforward: fill with a volatile marker, crimp at the specified torque (for 11 mm aluminum crimps, 8 to 12 in-lb on most manual crimpers, or per the autosampler manufacturer’s tooling), and test for leakage by headspace GC or by weight loss over 24 hours at 40 °C. A vial that loses more than 0.5% of its mass under those conditions is a fail. For screw-thread vials, the equivalent is cap torque testing: caps should be applied at 1.5 to 2.0 in-lb for 9 mm screw caps and hold pressure for 48 hours at 4 °C.
For headspace vials (20 mm crimp), the standard is different: 20 mm aluminum crimp, 20 to 25 in-lb with the correct tooling, and the septum must be a 20 mm silicone/PTFE or butyl with a 3.0 mm thickness. Headspace is where I see the most seal failures because people use the wrong crimper jaw for the vial neck height.
Traceability and lot control
A real OEM manufacturer can trace a finished carton back to a glass melt, a septum lot, and a capping line, and forward to the customer and shipment date. I ask for the traceability record on a random carton pulled from their warehouse during the audit. If they cannot produce it in under 10 minutes, the system does not exist in practice. This matters when a customer’s method fails and you need to quarantine a single lot without scrapping six months of inventory.
OEM capability: what “OEM” should mean and usually does not
The word OEM is thrown around to mean “we will print your logo.” That is private label, not OEM. Actual OEM capability has five components, and I score suppliers on each during qualification.
1. Custom dimensions and formats
Can they make a 1.5 mL vial with a 6 mm neck for a specific autosampler? Can they produce a 4 mL vial with an 18 mm thread? Can they supply a vial with a conical interior for small-volume injection? A manufacturer with in-house forming can. A trading company will tell you “we can source it” and then disappear for four months. I ask for the tooling lead time and the minimum order quantity for a new mold. A real manufacturer typically quotes 8 to 12 weeks for new tooling and an MOQ in the range of 50,000 to 100,000 units per format. Anything under 10,000 units for a custom format is a red flag that they are buying, not making.
2. Private label and secondary packaging
This is where a lot of suppliers fall down operationally. Private label means the customer’s brand on the carton, the label, and often the certificate of analysis. Secondary packaging means they can configure kits (vial + cap + septum in a bag, labeled and barcoded), which is what most labs actually buy. I ask to see the packaging line and the label control process. A supplier who hand-labels cartons in a back room will produce mislabeled lots eventually.
3. Documentation package
Every OEM shipment should include: certificate of analysis with lot numbers, dimensional data, leach test results, and a material declaration (glass type, septum material, cap material). For regulated customers, add a change control notification clause (typically 90 days’ notice before any material or process change) and an audit right. If a supplier will not sign a change control clause, they are planning to change something.
4. Capacity and lead time discipline
I ask for their on-time delivery rate for the last 12 months and their average lead time by product family. A reliable manufacturer will quote 2 to 4 weeks for standard catalog items and hold a safety stock of common formats. If the lead time is “8 to 10 weeks” for a catalog 2 mL vial, they are importing, not manufacturing.
5. Technical support and application knowledge
The best suppliers have someone who can tell you why your method is producing ghost peaks and whether the vial is the cause. That is not a sales function. It is a technical function. I weight this heavily because it saves weeks of troubleshooting.
Supplier comparison checklist
Here is the scorecard I use. Score each line 0 (no evidence), 1 (claimed only), or 2 (documented and verified). A supplier needs at least 16 of 20 to pass my qualification.
| Item | What to verify | Pass threshold |
|---|---|---|
| Glass type | USP Type I certificate, hydrolytic resistance data | Documented, < 0.1 mL/g |
| Dimensional control | 3 months of SPC data on neck height and body OD | SD ≤ 0.15 mm, Cpk ≥ 1.33 |
| Leach testing | Conductivity and UV absorbance per lot | < 2 µS/cm, < 0.05 AU |
| Septa specification | Durometer, thickness, bonding process | 45 to 55 Shore A, documented |
| Seal integrity | Crimp torque and leak test data | < 0.5% mass loss at 40 °C/24 h |
| Traceability | Lot to melt to shipment, retrievable in 10 min | Verified during audit |
| Custom tooling | In-house forming, tooling lead time | 8 to 12 weeks, MOQ 50k |
| Private label | Label control, packaging line | Observed on site |
| Change control | Written notification clause | 90-day notice, signed |
| On-time delivery | 12-month OTD rate | ≥ 95% |
I also cross-check the supplier’s claims against independent data where I can. Technical resources from Restek are useful for comparing septum and vial performance claims against published test data, and the major instrument vendors publish compatibility charts for their autosamplers. If a supplier’s dimensional claims conflict with what Agilent or Thermo Fisher specify for their own autosampler trays, believe the instrument vendor.
Operational precautions that reduce vial-related failures
Even a good vial fails in bad hands. These are the practices I enforce in my own lab and in the labs I audit:
- Store vials in the original sealed carton until use. Open cartons absorb moisture and airborne contaminants, and the septum can take a compression set if stacked under heavy weight.
- Do not pre-crimp headspace vials more than 24 hours before analysis. The septum takes a compression set and the seal loses elasticity.
- Use the correct crimper jaw for the vial neck height. A 20 mm headspace vial and an 11 mm crimp vial need different jaws, and using the wrong one produces a seal that passes visual inspection and fails in the inlet.
- Torque screw caps to 1.5 to 2.0 in-lb. Hand-tight is not a specification. Use a torque wrench or a calibrated capping tool.
- Do not reuse septa. A septum that has been punctured 20 times has lost 30% of its reseal force. The cost of a septum is a fraction of the cost of a rerun.
- Run a lot acceptance test on every new lot of vials from a new supplier until you have 12 months of consistent data, then move to skip-lot testing.
- For environmental work, follow the sample preservation and holding time requirements in EPA SW-846 and verify that your vial and septum combination does not contribute to method blank contamination. I have seen a septum lot contribute phthalates at levels that failed a method blank.
Troubleshooting checklist: matching symptoms to vial causes
When a method starts failing, the vial is not always the cause, but it is easy to rule in or out. This is the checklist I run, in order.
- Ghost peaks in GC or LC: run a method blank with a new lot of vials and a new lot of septa separately. If the peaks disappear, it is the vial or septum. Check leach test data and septum material.
- Autosampler pick failures: measure neck height and body OD on 30 vials from the lot. If SD > 0.2 mm, reject the lot.
- Sample loss in headspace: check crimp torque, septum thickness, and whether the septum is the correct material for the sample. Butyl for nonpolar, silicone/PTFE for polar.
- Needle bending: check bottom concentricity and whether the vial is seating flat in the tray. A 0.1 mm off-center bottom is enough.
- Leaks at 4 °C: check cap torque and thread standard (GPI 9-425). A cap that fits but does not seal is usually a thread-form mismatch.
- pH drift in aqueous samples: check glass type. Type III glass will shift pH by 0.3 to 0.8 units over 48 hours.
- Elevated sodium or boron in LC-MS: check dealkalization and glass melt records. This is a supplier quality issue, not a lab issue.
Recommendation: how to qualify and hold a supplier
My recommendation is to qualify two suppliers, not one, and to write the specification around verifiable numbers rather than catalog claims. The specification I use for a standard 2 mL crimp vial:
- Glass: USP Type I borosilicate, dealkalized, hydrolytic resistance < 0.1 mL/g, with lot certificate.
- Dimensions: 12 × 32 mm, body OD 11.6 ± 0.2 mm, neck height 6.0 ± 0.3 mm, bottom concentricity within 0.1 mm, wall 1.0 mm minimum.
- Thread (screw vials): GPI 9-425 compliant.
- Septum: 1.0 mm silicone/PTFE bonded, 45 to 55 Shore A, 30-puncture reseal verified.
- Seal integrity: < 0.5% mass loss at 40 °C for 24 hours; crimp torque 8 to 12 in-lb; cap torque 1.5 to 2.0 in-lb.
- Cleanliness: conductivity < 2 µS/cm, UV absorbance < 0.05 AU at 220/254/280 nm, extractables screen by LC-MS.
- Traceability: lot to melt to shipment, retrievable in 10 minutes.
- Change control: 90-day written notification before any material or process change.
- Delivery: ≥ 95% on-time, 2 to 4 week lead time on catalog items, safety stock on common formats.
Then audit. Visit the plant if you can. If you cannot, ask for a video walkthrough of the forming line, the leach test bench, and the packaging line. A supplier who makes vials will show you the furnace and the forming machine. A supplier who buys them will show you a warehouse.
For the full assembly, including custom caps and septa configurations, the oem vial range at oemsamplevials.com is worth benchmarking against your current supplier’s specification, and the manufacturing background at Aijiren is a useful reference for what in-house forming and QC capability looks like in practice. Use both as a specification benchmark, not as a shortcut around your own qualification testing.
The takeaway: the difference between a reliable OEM vial manufacturer and a trading company is not the catalog and not the price. It is whether they can show you the glass melt record, the dimensional SPC chart, the leach test data, and the packaging line, and whether those documents match the carton you pull off the shelf. If they can, and the numbers meet the thresholds above, you have a supplier you can hold for a decade. If they cannot, no discount is large enough to cover the cost of a failed method at 2 a.m.
References & further reading
Related resources from our lab consumables network:
- Oem Vial at oemsamplevials.com
- Vial Closures at vialclosures.com
- Analytical Testing at labanalyticaltesting.com
- Aijiren at aijirentechinc.com
External references and standards: