
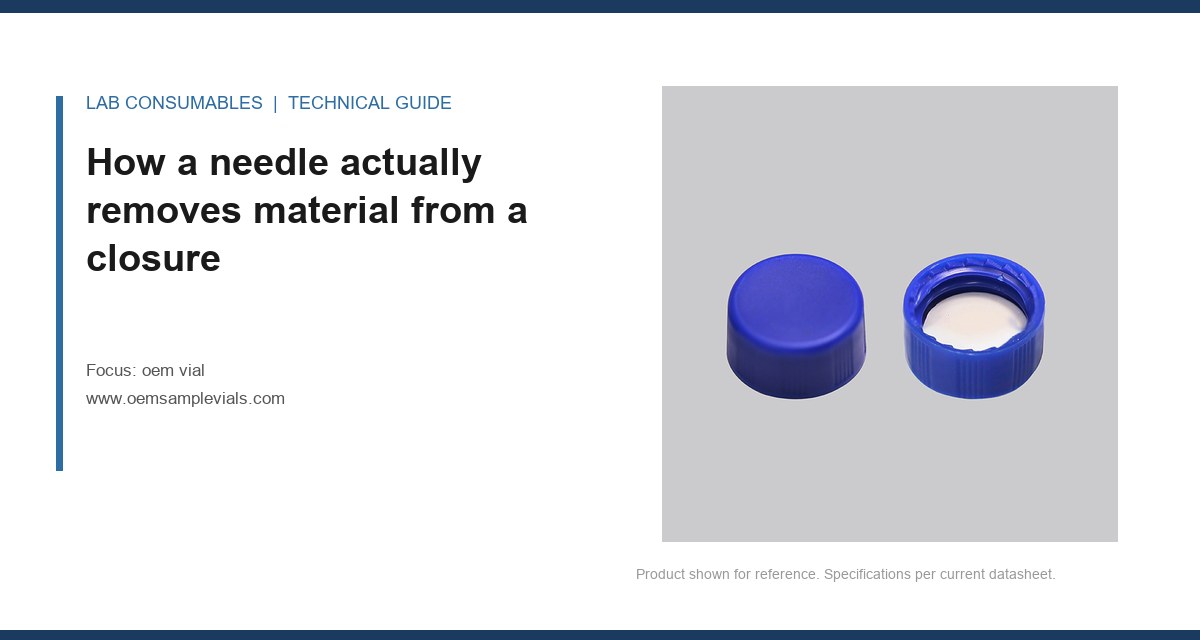
A 96-position autosampler run on a 6890/7693 tower aborted at injection 41 with a syringe error, and the septum on that vial had a clean 0.48 mm disc punched out of its center. The instrument had been running the same lot of oem vial closures for three weeks. Nothing about the chromatograms looked wrong before the abort, which is the part that matters: coring debris and needle damage are mechanical failures that show up in the syringe and the guide long before they show up in the data.
This is a diagnosis page. It assumes you already run OEM vials and know the format. The question here is narrower: what mechanical sequence removes material from a closure, how do you read the debris under a loupe, and which needle and guide dimensions drive it.
Coring is not a cutting event. It is a punch. A beveled needle entering a 3 mm thick silicone or butyl septum at the vertical speed of a modern autosampler (typically 20 to 60 mm/s) compresses the elastomer ahead of the tip. The material does not shear cleanly at the bevel. It deforms into the lumen and around the outside of the shaft, and the bevel’s leading edge acts as a die. If the die (the needle) and the workpiece (the septum) can’t accommodate the local strain, a plug separates.
The four-stage sequence
- Compression. The septum deflects downward by 0.3 to 0.8 mm before the tip penetrates. A 45° bevel on a 23-gauge needle concentrates the load into a footprint roughly 0.13 mm wide, so the local pressure at first contact is high enough to start a tear rather than a clean puncture.
- Plug formation. Once the tip breaks the surface, the bevel’s inside edge slices a circular slug whose diameter equals the needle’s outer diameter (0.64 mm for 23 gauge, 0.47 mm for 25 gauge, 0.32 mm for 27 gauge). The slug is only as thick as the material between the needle’s entry point and the point where the shaft’s full circumference is engaged, usually 0.5 to 1.2 mm.
- Slug retention or ejection. A sharp, well-formed bevel pushes the slug into the lumen. A blunt or burred bevel pushes it aside into the sample or leaves it hanging on the septum face. This is the fork that decides whether you get a blocked needle or a contaminated injection.
- Re-entry damage. On the next injection, the same needle re-enters the same hole. If the hole has closed (silicone recovers 60 to 90% of its deformation within seconds), the second puncture is a fresh punch through weakened material. After five to eight punctures, the local elastomer has lost enough tensile strength that the slug comes free.
The practical consequence: coring is cumulative. A single injection rarely produces a visible fragment. The debris you find on injection 40 is the residue of 40 passes through a hole that never fully healed.
Reading the debris under a loupe: what each shape tells you
Put the septum on a white card under a 10x to 20x loupe with a raking light. The shape of the fragment is diagnostic, and it separates coring from the two things that get blamed for it: a damaged needle tip and a rough guide.
Fragment morphology
- Full disc, clean edges, diameter matches needle OD. Classic punch coring. The bevel was sharp, the slug was retained in the lumen, and the needle was withdrawn before the slug cleared. Look for a matching disc in the needle hub.
- Crescent or half-moon. The needle entered at an angle, or the septum was not seated flat in the cap. Check cap torque and septum concentricity.
- Irregular shards with feathered edges. The needle tip is blunt or burred. The bevel is no longer cutting; it is tearing. This is the pattern you see after 5,000 to 8,000 injections on a stainless needle, or sooner on a needle that has hit a vial bottom.
- Fine powder or smear. Not coring. This is abrasion from a rough guide or a needle rubbing the septum bore. It usually accompanies a scored needle shaft.
- Black or dark specks. Not septum material. That is typically metal from a worn guide or a corroded needle, and it is a separate investigation.
The needle itself
Pull the syringe and inspect the tip under the same loupe. A healthy bevel has a continuous, bright cutting edge. A coring-prone needle shows one of three things:
- A burr or hook on the leading edge, visible as a bright irregularity where the bevel meets the shaft.
- A flattened or rolled tip, usually from bottoming out in a vial. This is the single most common cause of sudden coring onset in a lab that had no problem last month.
- Material packed in the lumen, which you can confirm by pushing solvent through with a 1 mL syringe and watching for a fragment to emerge.
I keep a cheap USB microscope at the bench for exactly this. A 40x image of the bevel settles in ten seconds what a week of speculation won’t.
The dimensions that decide whether coring happens
This is where most troubleshooting stops too early. People blame the septum. The septum is one variable. The needle geometry and the guide bore are the other two, and in my experience they cause more coring than the closure does.
Needle outer diameter and wall thickness
The needle’s OD sets the slug diameter, and the wall thickness sets how much the slug is squeezed as it enters the lumen. A thin-wall 23-gauge needle (0.64 mm OD, 0.12 mm wall) has a larger internal bore and is more likely to retain a slug than a heavy-wall needle of the same OD. If you’re seeing full-disc fragments in the hub, a heavier wall or a smaller gauge usually fixes it.
Gauge selection also interacts with the sample. A 27-gauge needle (0.21 mm ID) will not reliably aspirate a viscous sample, so don’t downsize to solve coring without checking your injection volume accuracy. The Restek technical library has good tables on needle gauge versus aspiration performance that are worth bookmarking.
Bevel geometry
A 45° bevel is standard and cuts well. A point style 2 (a 45° bevel with a sharp heel) is the most coring-prone because the heel can catch on the septum on withdrawal. A point style 3 (flat tip) is designed for septum penetration without coring, but it will not pierce a PTFE-faced septum cleanly and tends to push material ahead of it. If your method uses PTFE-faced silicone, a 45° bevel with a polished edge is the safer choice.
Guide bore and alignment
The guide (the metal or PEEK bushing the needle passes through on its way to the vial) has a bore typically 0.05 to 0.15 mm larger than the needle OD. Over time, the guide wears, the bore opens, and the needle acquires lateral play. A needle with 0.1 mm of play at the guide enters the septum at an angle, and an angled entry produces crescent fragments and a torn hole that never reseals.
Measure guide wear with a pin gauge. If the bore has opened more than 0.10 mm past nominal, replace the guide. On most autosamplers this is a 20-minute job and it is the cheapest coring fix available.
Comparison table: failure modes by dimension
| Symptom | Likely dimension | Measurement | Fix |
|---|---|---|---|
| Full disc in needle hub | Needle OD and wall | Slug diameter vs. needle OD | Heavier wall or smaller gauge |
| Crescent fragments | Guide bore and alignment | Pin gauge, 0.10 mm wear limit | Replace guide |
| Irregular shards | Bevel condition | 40x loupe on tip | Replace syringe |
| Powder or smear | Guide roughness | Visual, bore finish | Replace guide, check needle shaft |
| Fragments in sample | Septum hardness and thickness | Durometer, 3 mm nominal | Softer septum, verify cap torque |
Field case: the lot that cored at injection 40
A contract lab running EPA method 8260 on a 7693 tower started getting intermittent syringe errors at roughly injection 35 to 45 on every tray. The chromatograms were clean. The septum showed a full disc missing on the failed vials. The lab had changed nothing.
We pulled the syringe and found a burr on the bevel. The lab’s needle had hit bottom on a vial with a slightly short neck, and the impact rolled the tip. The fix was a new syringe plus a check of the vial seating depth. The seating depth varied by 0.4 mm across the tray because the caps were being crimped with a hand tool that had drifted out of adjustment. Recrimping with a calibrated tool at a consistent 0.5 to 0.8 mm cap height eliminated the bottoming-out and the coring together. The SW-846 method documentation covers the sample prep but not the mechanical interface, which is why this kind of thing lives in field notes rather than method text.
The measurement that identified it was simple: a depth gauge on the crimped cap, 20 vials from the tray. The spread was the answer.
Field case: fragments that looked like contamination
Another lab reported a single peak in the blank at a retention time that matched nothing in their standard. The peak appeared only on vials from one box. They suspected a bad lot of vial closures and were ready to reject it.
Under a loupe, the septum from a blank vial had a crescent fragment missing from the bore, and the same crescent was sitting in the bottom of the vial. The guide bore on that autosampler had opened to 0.62 mm against a nominal 0.50 mm, giving the 0.47 mm needle about 0.15 mm of play. The needle was entering at an angle and shaving material into the sample. The peak was silicone, not contamination from the closure lot.
The fix was a new guide and a re-qualification of the blank. The lesson is the one I keep relearning: when fragments appear in the sample, measure the guide before you reject the lot. The analytical testing group that ran the follow-up confirmed the peak was a siloxane, which closed the loop.
A field checklist for coring and needle damage
Run this in order. It takes about 30 minutes and it catches the cause in most cases before you touch the closure inventory.
- Inspect the syringe tip at 40x. Look for burrs, hooks, or a rolled tip. Replace if any are present.
- Pin gauge the guide bore. Replace if more than 0.10 mm over nominal.
- Check cap height on 20 vials with a depth gauge. Crimp height should be consistent within 0.1 mm.
- Inspect 20 septa under a 10x loupe. Record fragment morphology against the table above.
- Count punctures. If a septum has been pierced more than eight times, replace it before the next run.
- Verify needle gauge against sample viscosity. A 27-gauge needle on a viscous sample will core more and aspirate worse.
- Push solvent through the needle and check for a retained slug.
If steps 1 through 4 are clean and you still see fragments, the closure is the remaining variable. That is the point to involve your OEM vial supplier with the lot number and the fragment images, not before.
Choosing a closure that resists coring without giving up seal
Septum hardness is the lever most people reach for, and it matters, but it is not the whole story. The relevant properties are durometer, thickness, and the surface finish of the needle-facing side.
- Durometer. A 45 Shore A silicone septum cores less than a 55 Shore A but reseals more slowly. For methods with more than eight punctures per vial, 45 Shore A with a PTFE face is a reasonable compromise.
- Thickness. A 3 mm septum is standard for 12 x 32 mm vials. Thinner septa (1.5 mm) core less because there is less material to form a slug, but they seal worse at high pressure. Don’t go below 2 mm for HPLC work above 400 bar.
- Surface finish. A septum with a molded, smooth needle face cores less than a die-cut one with a rough edge. This is hard to see without a loupe, which is another reason to keep one at the bench.
For GC work on a chromatography vial, the trade-off is different: you care more about reseal after multiple injections than about the slug, because a GC inlet is less sensitive to a small fragment than an LC system is. The Agilent GC consumables documentation and the Thermo Fisher sample handling resources both have useful guidance on septum selection by injection count.
The decision rule
When you see coring, measure the needle tip and the guide bore before you touch the closure. If the bevel is burred or the guide has opened past 0.10 mm, fix those first; they cause more coring than septum hardness does, and they are cheaper to correct. Only when the needle and guide are in spec does the closure become the suspect, and at that point the fragment morphology and the lot number are what you send to the supplier. The closure is one variable in a three-part mechanical interface, and the other two are the ones that drift.
References & further reading
Related resources from our lab consumables network:
- Oem Vial at oemsamplevials.com
- Vial Closures at vialclosures.com
- Analytical Testing at labanalyticaltesting.com
- Chromatography Vial at chromvials.com
External references and standards: